How to Use Photo Style: Create a New Look from Any Photo
Learn how to upload a photo, choose a curated visual direction, and generate a polished new image with Photo Style.
Photo Style helps you turn one clear photograph into a new visual direction in a few simple steps. You do not need to write a complicated prompt: upload your image, select a curated style, and generate a fresh version while keeping the subject recognizable.
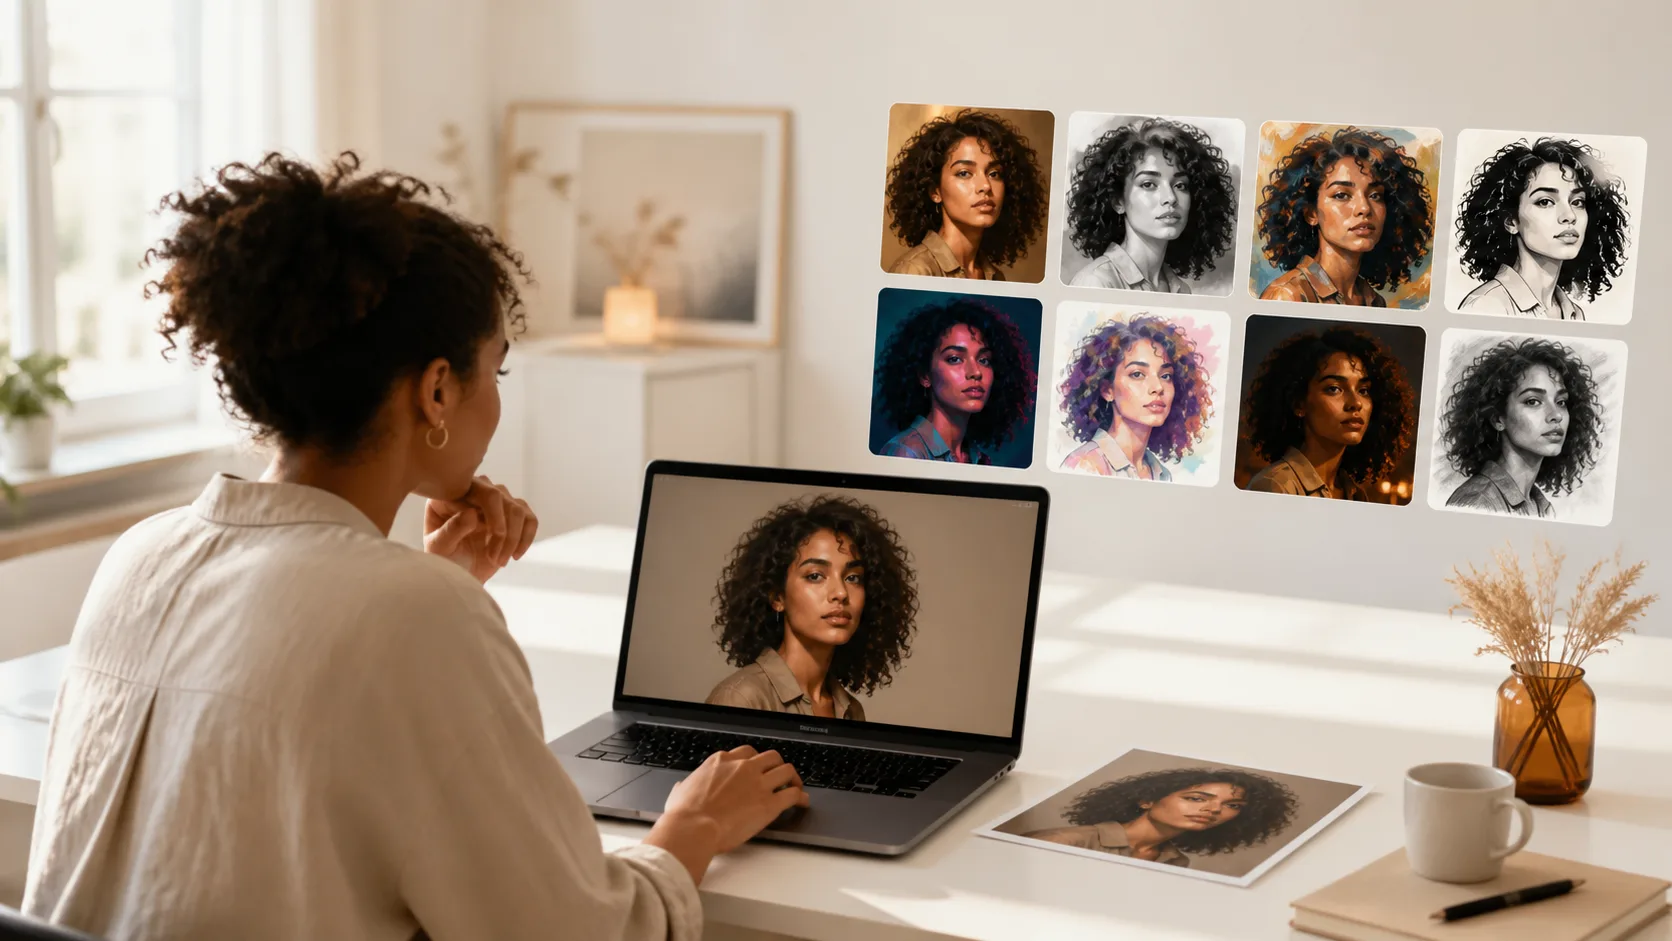
Before you start
For the best result, choose a JPG, PNG, or WebP image with one clear subject. A well-lit photo with a visible face and a simple background usually gives the model the most useful visual information to preserve.
Avoid tiny, blurry, heavily filtered, or crowded photos. If there are several people in the frame, the generated result may not preserve every person equally well.
1. Open the Photo Style generator
Go to the AI Photo Style Changer. Sign in if prompted, then you will see the upload area, the style picker, and a space for your result.
2. Upload a clear photo
Drag a JPG, PNG, or WebP file into the upload area, or click it to choose a file from your device. Start with the original photo whenever possible rather than a screenshot of a screenshot.
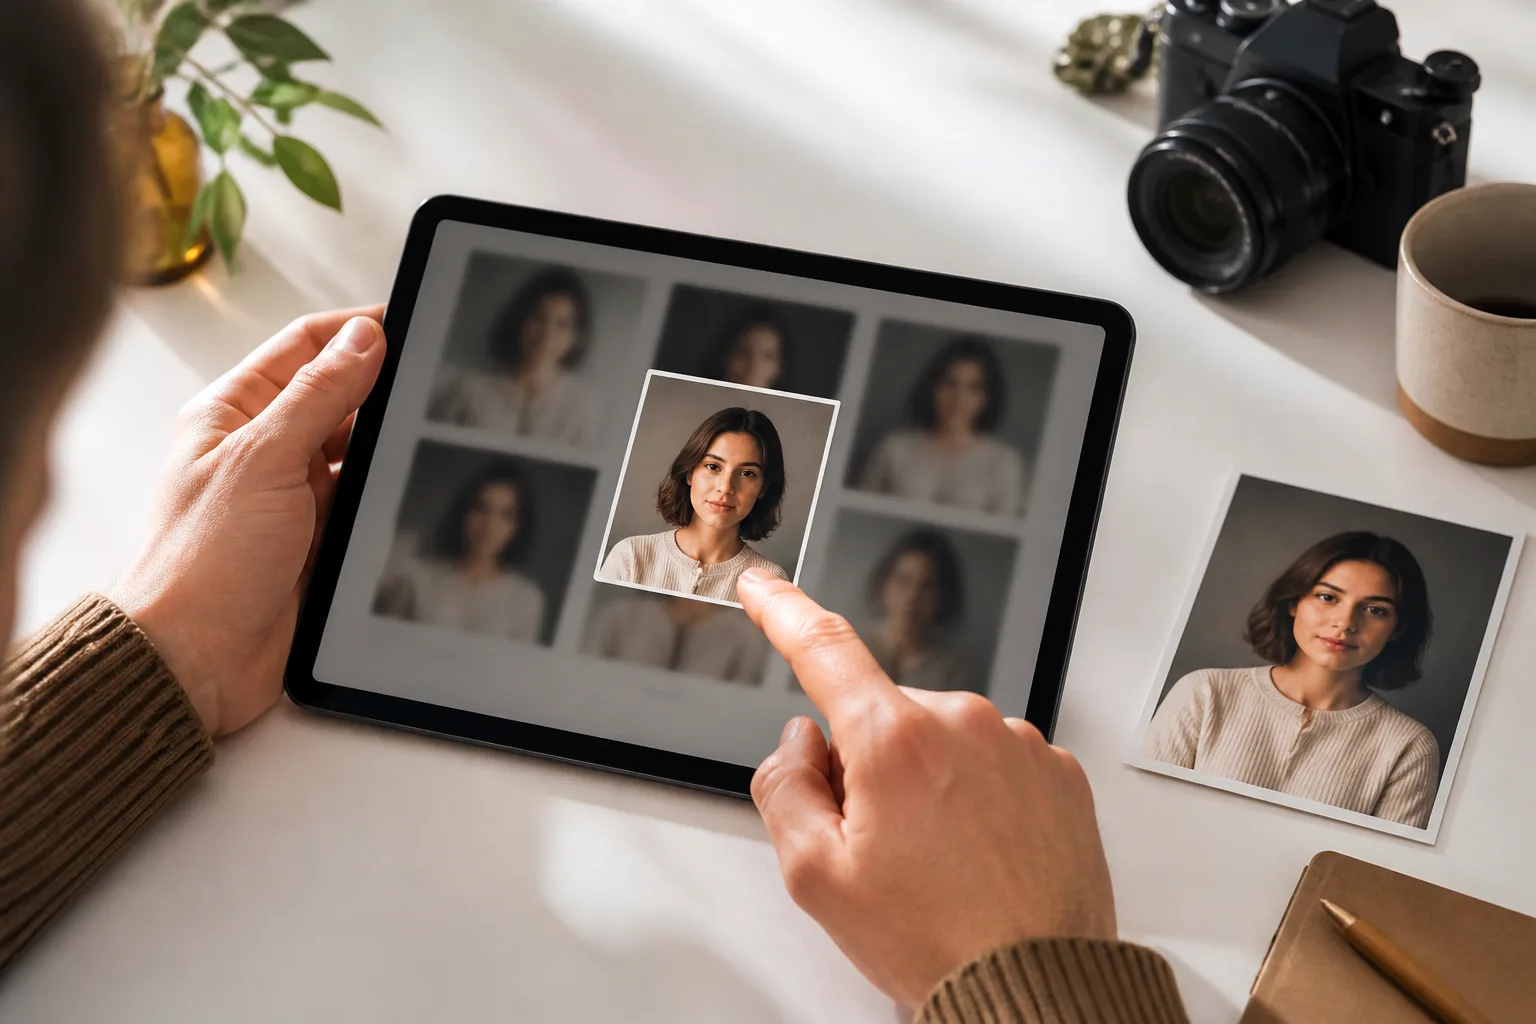
A quick photo checklist
- Keep the subject large enough to see clearly.
- Use even lighting so faces, clothing, and important details are visible.
- Pick a photo that already has the pose and composition you want to keep.
- Make sure you have permission to use the image and everyone shown in it.
3. Choose the visual direction
Photo Style has nine curated looks, so you can get started without guessing a prompt. Choose the one that best fits the mood you want:
- Cinematic Portrait for dramatic light and a film-like image.
- Analog Film for soft grain and a nostalgic look.
- Korean Street for clean, contemporary city style.
- Editorial Fashion for a polished magazine-inspired result.
- Vintage Polaroid for a warm instant-photo feel.
- Anime Portrait, Watercolor, Oil Painting, or Cyberpunk for more stylized visual directions.
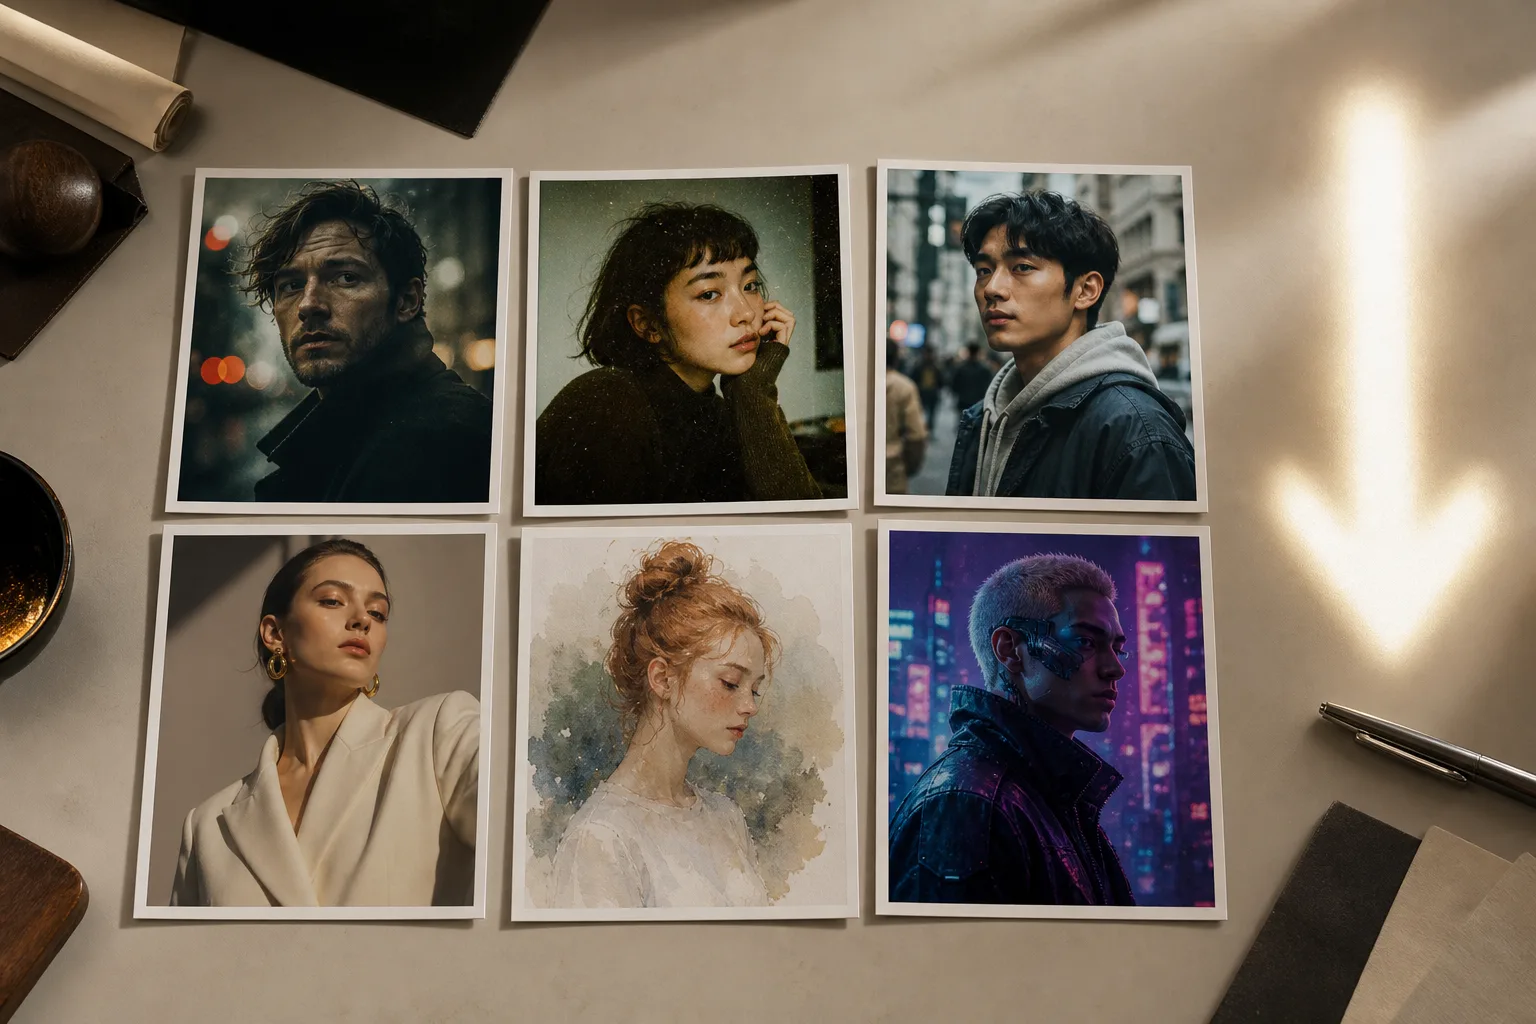
You can generate another version with a different style whenever you want to compare ideas. The original upload is a useful starting point; the selected style is what changes the mood, light, texture, and treatment.
4. Generate your photo style
Click Generate photo style. The result appears in the panel on the right after processing finishes. Keep the tab open while it is creating your image.
If the result is not quite right, try again with a cleaner source photo or select a style that is closer to your intended mood. Small changes in the source image — such as a clearer face or simpler background — can make a noticeable difference.
5. Download and use the result
When you are happy with the result, click Download image to save it. You can use the download in a mood board, social post, profile concept, or creative reference, as long as your use follows the applicable laws and the rights of everyone shown in the photo.
Your available generations depend on your current account plan and credit balance. Visit the pricing page when you need more room to create.
Tips for better Photo Style results
- Start with one subject and a clear point of focus.
- Match your chosen style to the source photo: portraits are especially effective for cinematic, editorial, and analog looks.
- Compare two or three styles instead of expecting one look to suit every image.
- Keep your original image so you can return to it and explore a new direction later.
Ready to make your first version? Open Photo Style and choose a visual direction.