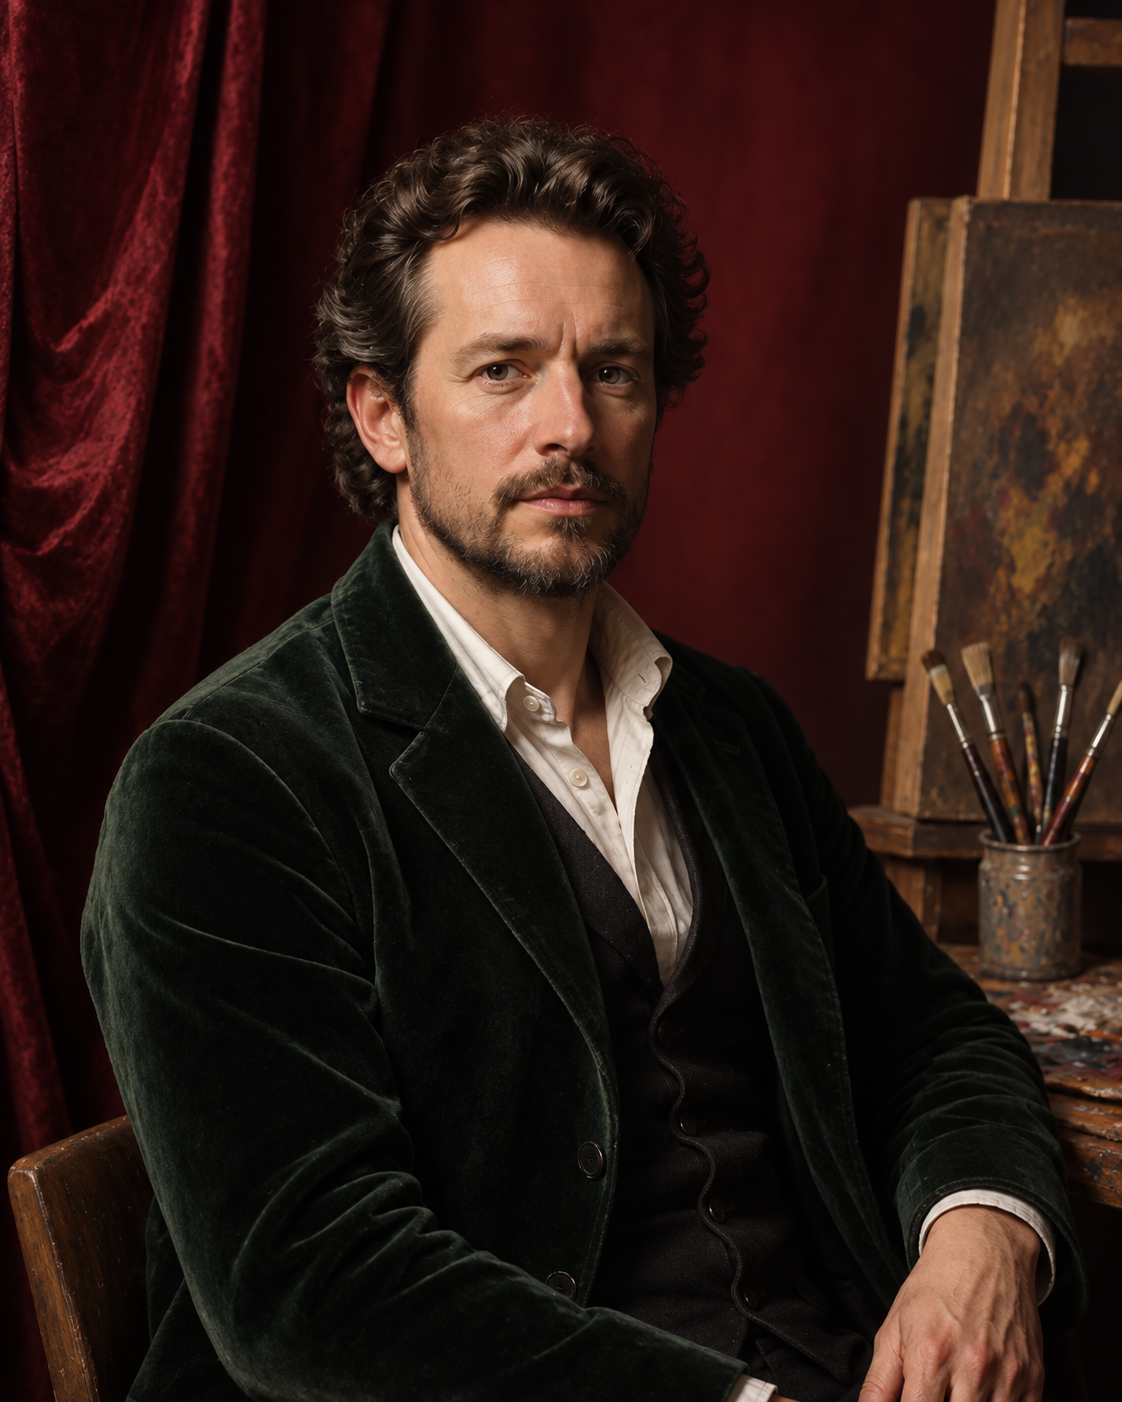
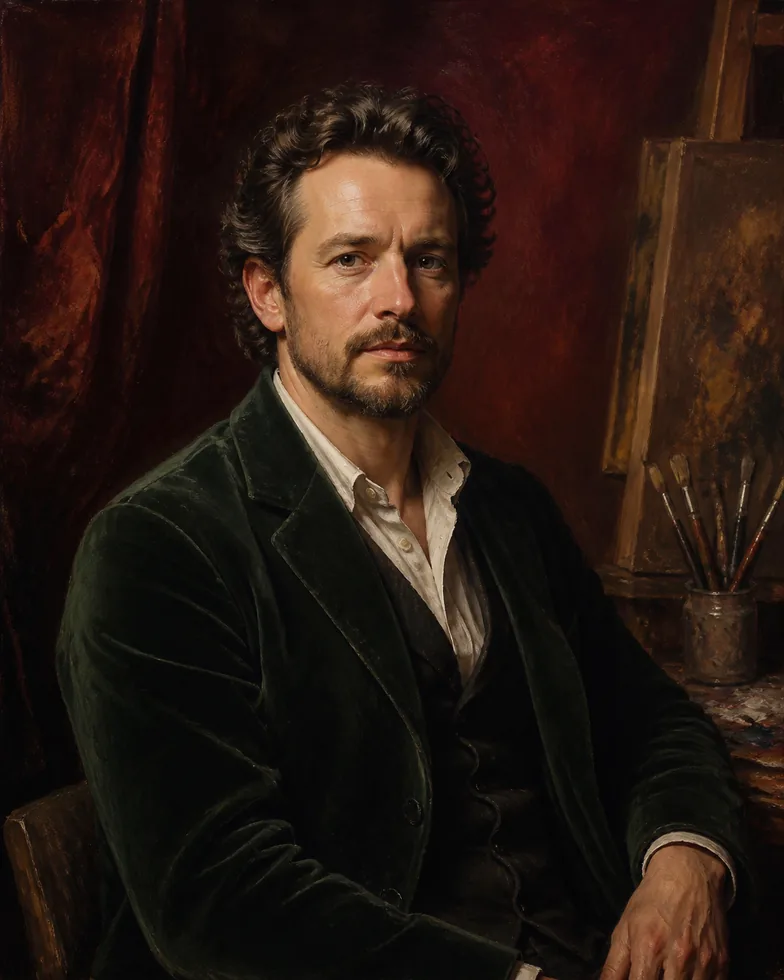
Give a real photo the depth and texture of an oil-painted portrait
Photo to Oil Painting turns a real photograph into a painterly portrait with layered color, visible brush texture, and a sense of depth that a standard photo filter cannot create. Upload a portrait you care about, select Oil Painting, and Photo Style uses the subject, clothing, pose, and composition as the foundation for a new painted interpretation. The result is meant to feel like a considered artwork rather than a photo with a texture pasted over it. Faces, lighting, and important shapes stay connected to the original image, while the surface gains the warmth and restraint associated with a refined oil portrait.
A successful photo-to-oil-painting conversion balances two things: it should preserve the person or object that matters in the source photo, and it should introduce enough visible paint handling to feel handcrafted. The Oil Painting preset is tuned for controlled brushwork, dimensional light, rich but believable color, and a composed gallery-quality mood. It does not add captions, signatures, or logos. That makes it useful when you want a portrait to feel more timeless, more formal, or simply more tactile while still being based on a real photograph.
You can use this style without studying art terms or writing a technical prompt. Start with a clear image, choose Oil Painting in the AI Photo Style Changer, and generate. The preset provides a consistent visual brief behind the scenes, so the workflow is simple enough for a personal keepsake but reliable enough for a mood board, a creative concept, or a presentation reference. Use only images you are allowed to transform, and remember that a clean original image gives the style more information to preserve.
How to turn a photo into an oil painting in three steps
1. Upload a photo with a clear focal point
Portraits, pet photos, still lifes, and product images with one obvious subject are the easiest place to begin. Use an image with usable light and enough detail in the face or main object. A photo that is already very dark, blurry, or crowded can make the painterly decisions feel less deliberate.
2. Choose the Oil Painting style
Select Oil Painting in the AI Photo Style Changer. The preset asks for layered paint, controlled visible texture, warm dimensional lighting, and a classic portrait finish while keeping the identity, pose, and composition anchored to the uploaded photo.
3. Create your painted version
Generate the result, then review it at full size before downloading. If the main subject is not as clear as you would like, start again with a source photo that is more evenly lit or more tightly framed. Results remain in your private history, ready to download or delete.
Why choose an oil painting effect, and when it works best
Oil Painting is for moments that deserve more weight than an ordinary edit. The style adds visual depth through color layers, gentle transitions in light, and brush texture that suggests a physical surface. It can make a modern portrait feel more permanent without forcing it into a historical costume or changing the person into someone else. The strongest results usually keep the original framing intact: a straightforward portrait becomes a painted portrait; a cherished pet photo becomes a painted study; a still life becomes an artwork with more material presence.
This style is particularly well suited to portraits with directional light, a calm expression, distinctive clothing, or a background that already has a few strong shapes. It works for a framed-gift concept, a family portrait idea, an author or musician mood board, a profile image with more character, or a creative reference for an interior project. The tool can also be useful for product founders who want to explore an editorial art direction before commissioning a shoot. For an edit that changes a specific object or background, use the Free AI Photo Editor instead of asking a style preset to do a narrow retouch.
To get a convincing result, avoid treating the oil effect as a way to hide a weak photo. Start with the same basics that make a portrait work on its own: a visible subject, stable focus, and lighting that gives the face or object some shape. Leave room around the focal point where possible. The style can then turn real tonal information into brushwork, rather than inventing every detail from noise. That is how a Photo to Oil Painting result keeps a relationship to the original image while still looking thoughtfully transformed.
Explore another photo transformation
For a different creative direction, turn your photo into anime style or try a Vintage Polaroid look.